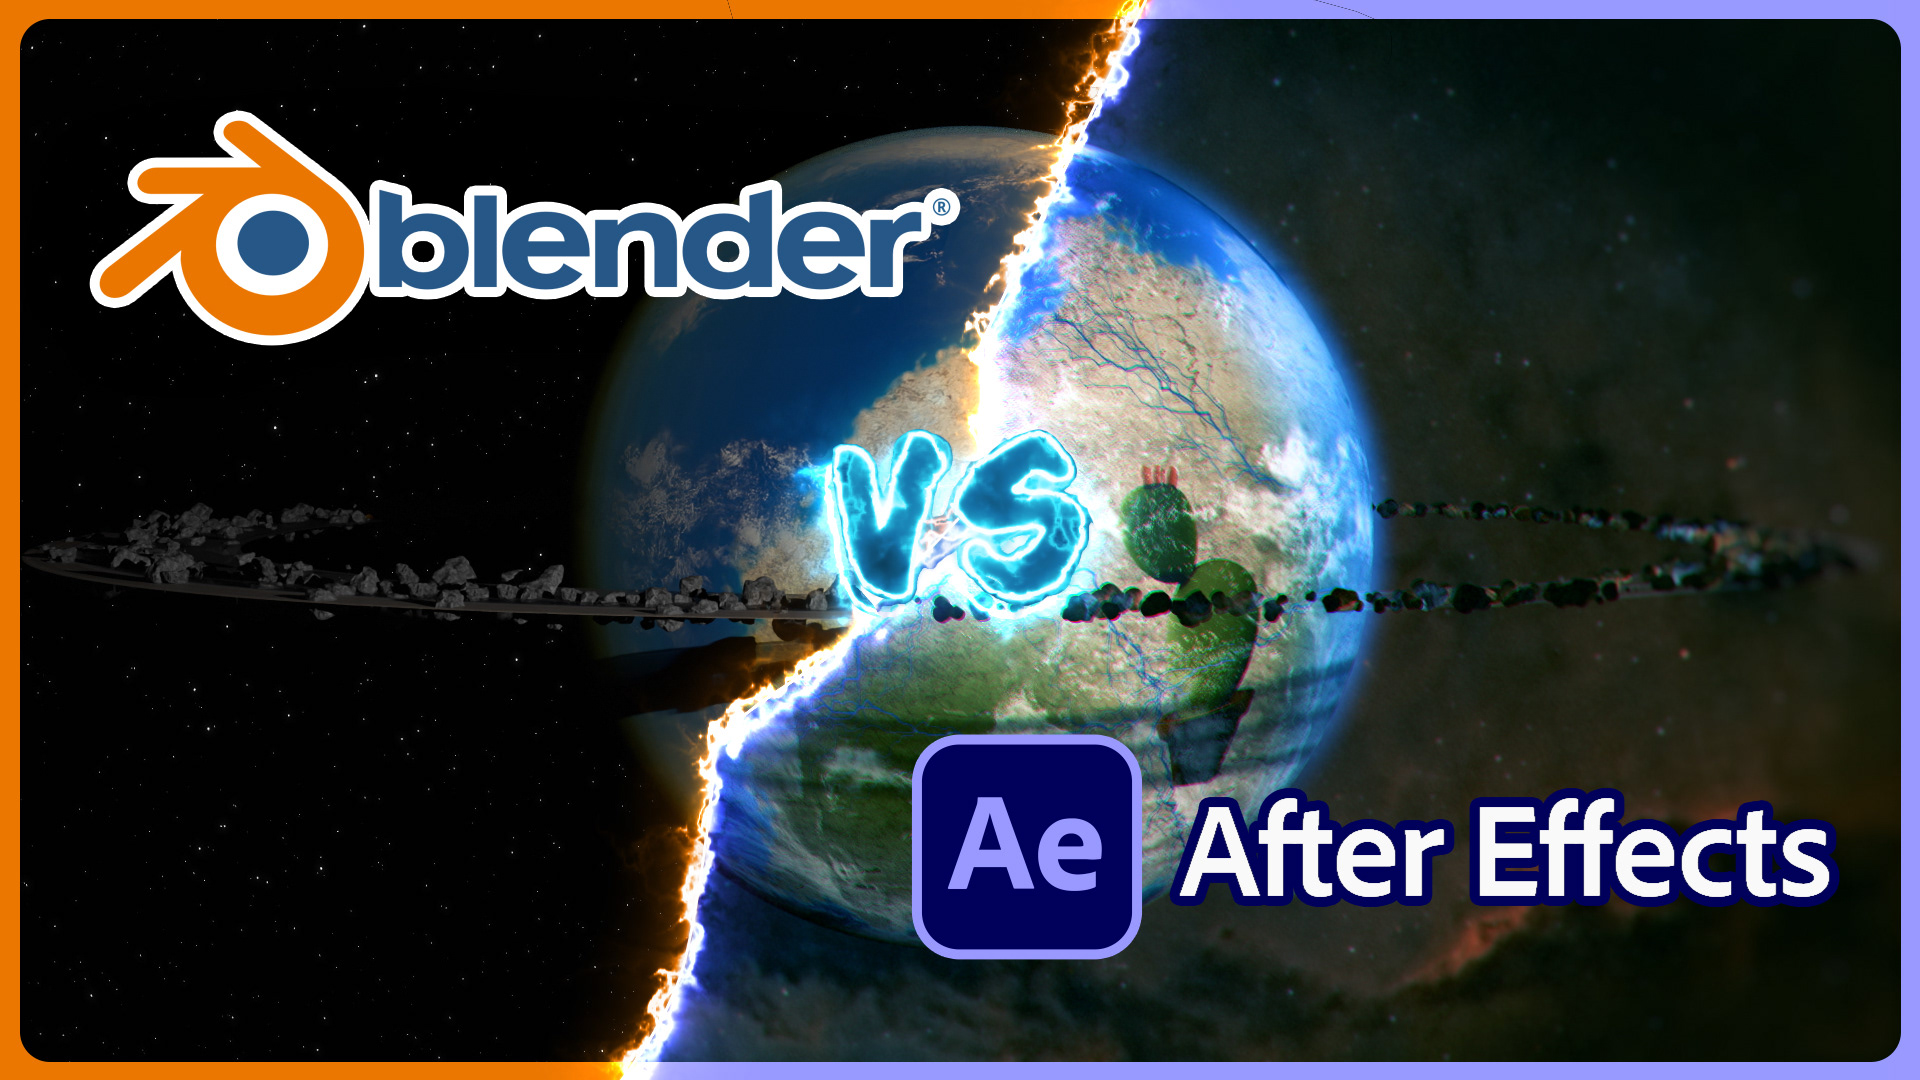
How to create a planet in Blender and how that compares to ones you can make in After Effects.
This Review / Tutorial is slightly different to my usual videos. After publishing many tutorials on how to create planets in After Effects, whether directly or using Video Copilot Orb or Cinema4D Lite, I thought it was time to tackle Blender.
In the main part of this video, I show how to create and texture a sphere, including how to use the Shading Node editor and how to change a Height or Bump map into a Normal map to add displacement. Then I go on to show how to create clouds, atmosphere. Once they are complete, I then add a rocky ring and then a "regular" thin ring band, like you might see on Saturn.
Once the tutorial is done, I bring up similar planets made in each of the different ways. These are also shared below with some of my thoughts on the process.
Which Planet Builder?
After Effects ONLY
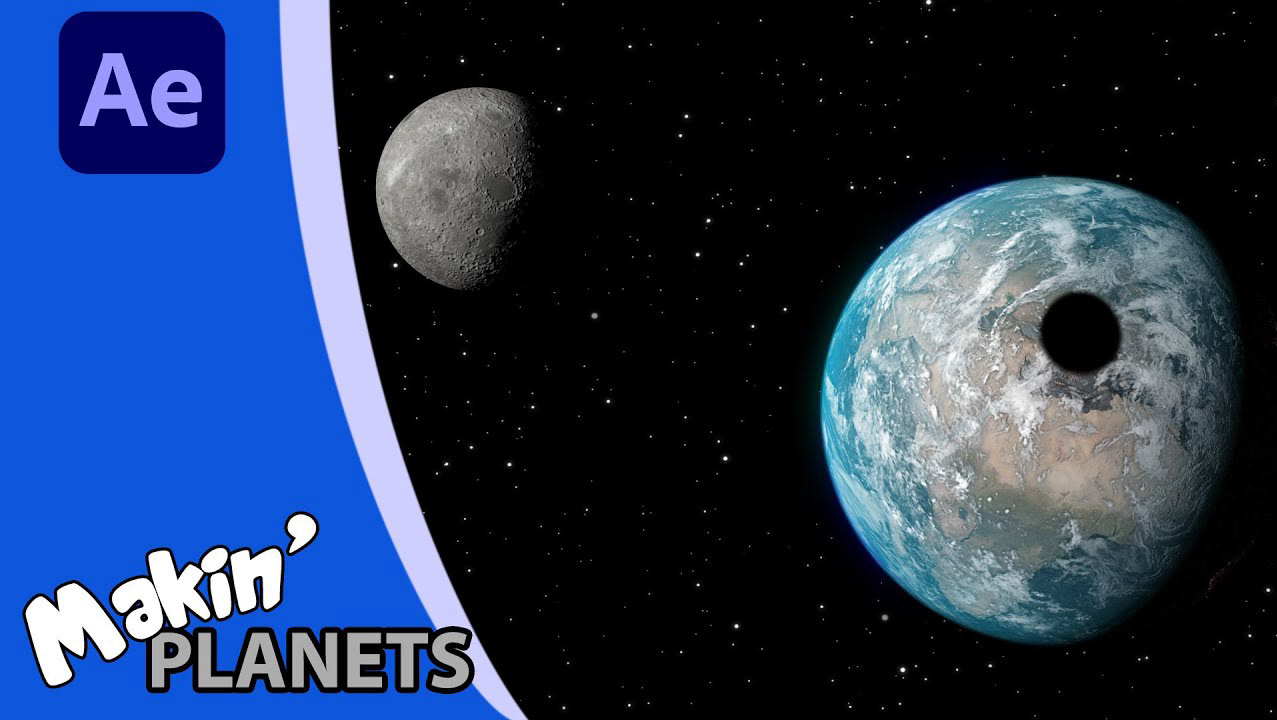
This version is just using AE's Advanced 3D render and the additional effects needed to create clouds, atmosphere, the rings and shadows.
While I'm pleased with the result, I am aware that there are no shadows of the rocks* and the atmosphere needs a lot of keyframes to get right. Ultimately I like the control I have over the end result - especially the ease of moving the camera.
The short render time was a surprise.
Render time: 25 minutes.
UPDATE: I wrote all this and the tutorial before even thinking to check the AE Beta page and wouldn't you know it, shadows from Parallel lights is coming to After Effects.
Video Copilot Orb
I've made a whole playlist of videos about using the free plugin. Orb really does make it simple to create planets. One major feature Orb has over using just AE is that you can have a precomp as its texture map, which means you can animate changes to the planet. Orb seems to exclusively use the GPU to display and that does mean it can stop working or not be able to cope with higher textures at times, and it does not exist in a shared 3D space, so adding a ring to a planet is harder. My own tutorial on that involves a complicated expression.
Render time: 30 minutes
Cinema4D Lite
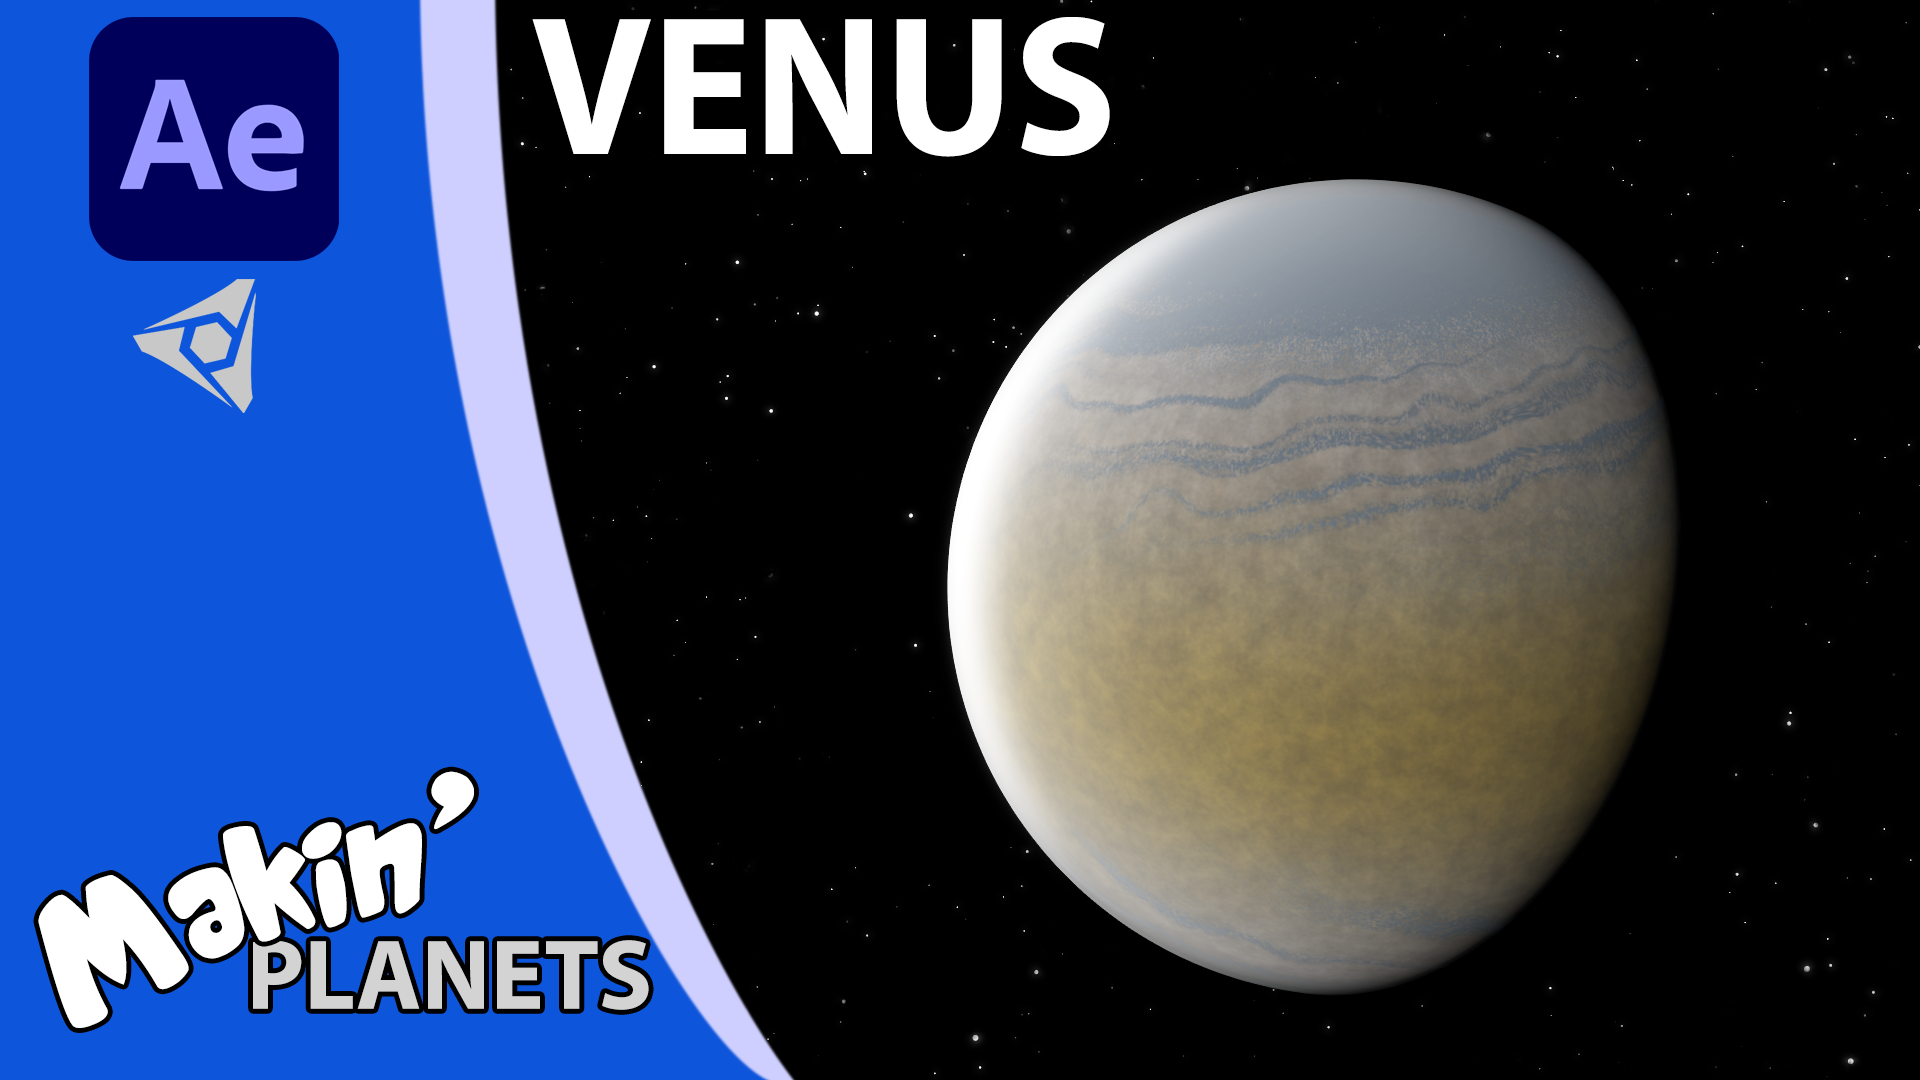
You can create planets with clouds and atmospheres in C4D Lite and being a 3D program makes it easy to have other objects pass behind it. However when adding the asteroids, the limitations of C4D Lite become apparent. I couldn't find a way to randomly clone the rocks. I was able to make an array but they were all lined up. In the end, I used the convert to editable option and randomly moved a group of rocks, then duplicated the group, rotated them and repeated.
I'm not a big fan of how the atmosphere turned out, although that might just be that I think the others look better.
Render time: 39 minutes
Blender
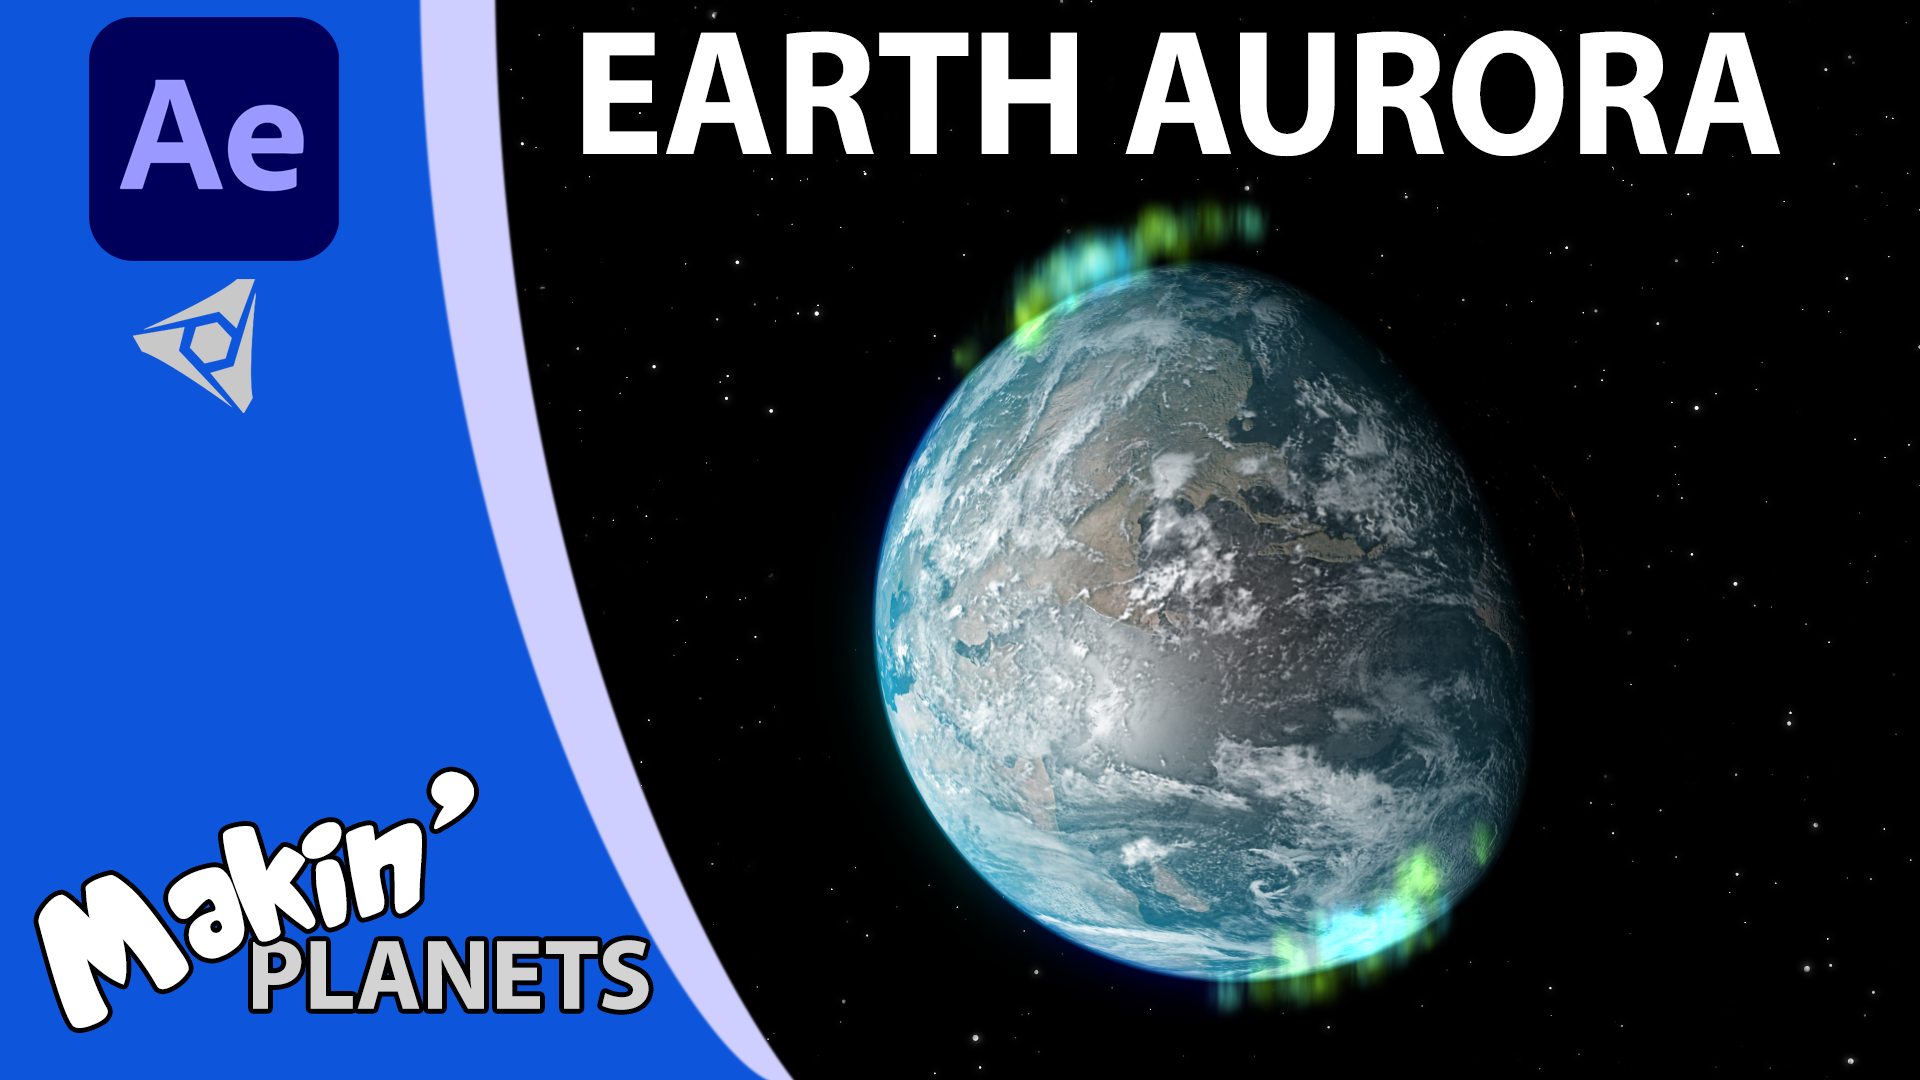
I like the what Blender's shadows hit on the clouds and surface and sort of stretch throughg the atmosphere, giving it an oily look. I wasn't thrilled with the specular map - I think it's reversed but nothing I found online could help. Adding the asteroids using the Hair Particles was so easy and if this was an asteroid belt comparison, Blender would win outright. The ring was the most disappointing. I know we wouldn't get both big rocks and a thin ring, but I felt I had the least control over its look. I tried using a volumetic look, but came up against the sharp edges of the torus and it ended up looking more fake.
When i came to render, I set a very low number of samples, just 10. Each frame took around 10 seconds. For comparison, rendering out a single frame at 100 cycles took 63 seconds.
Render time: 5 hours
Blender + After Effects
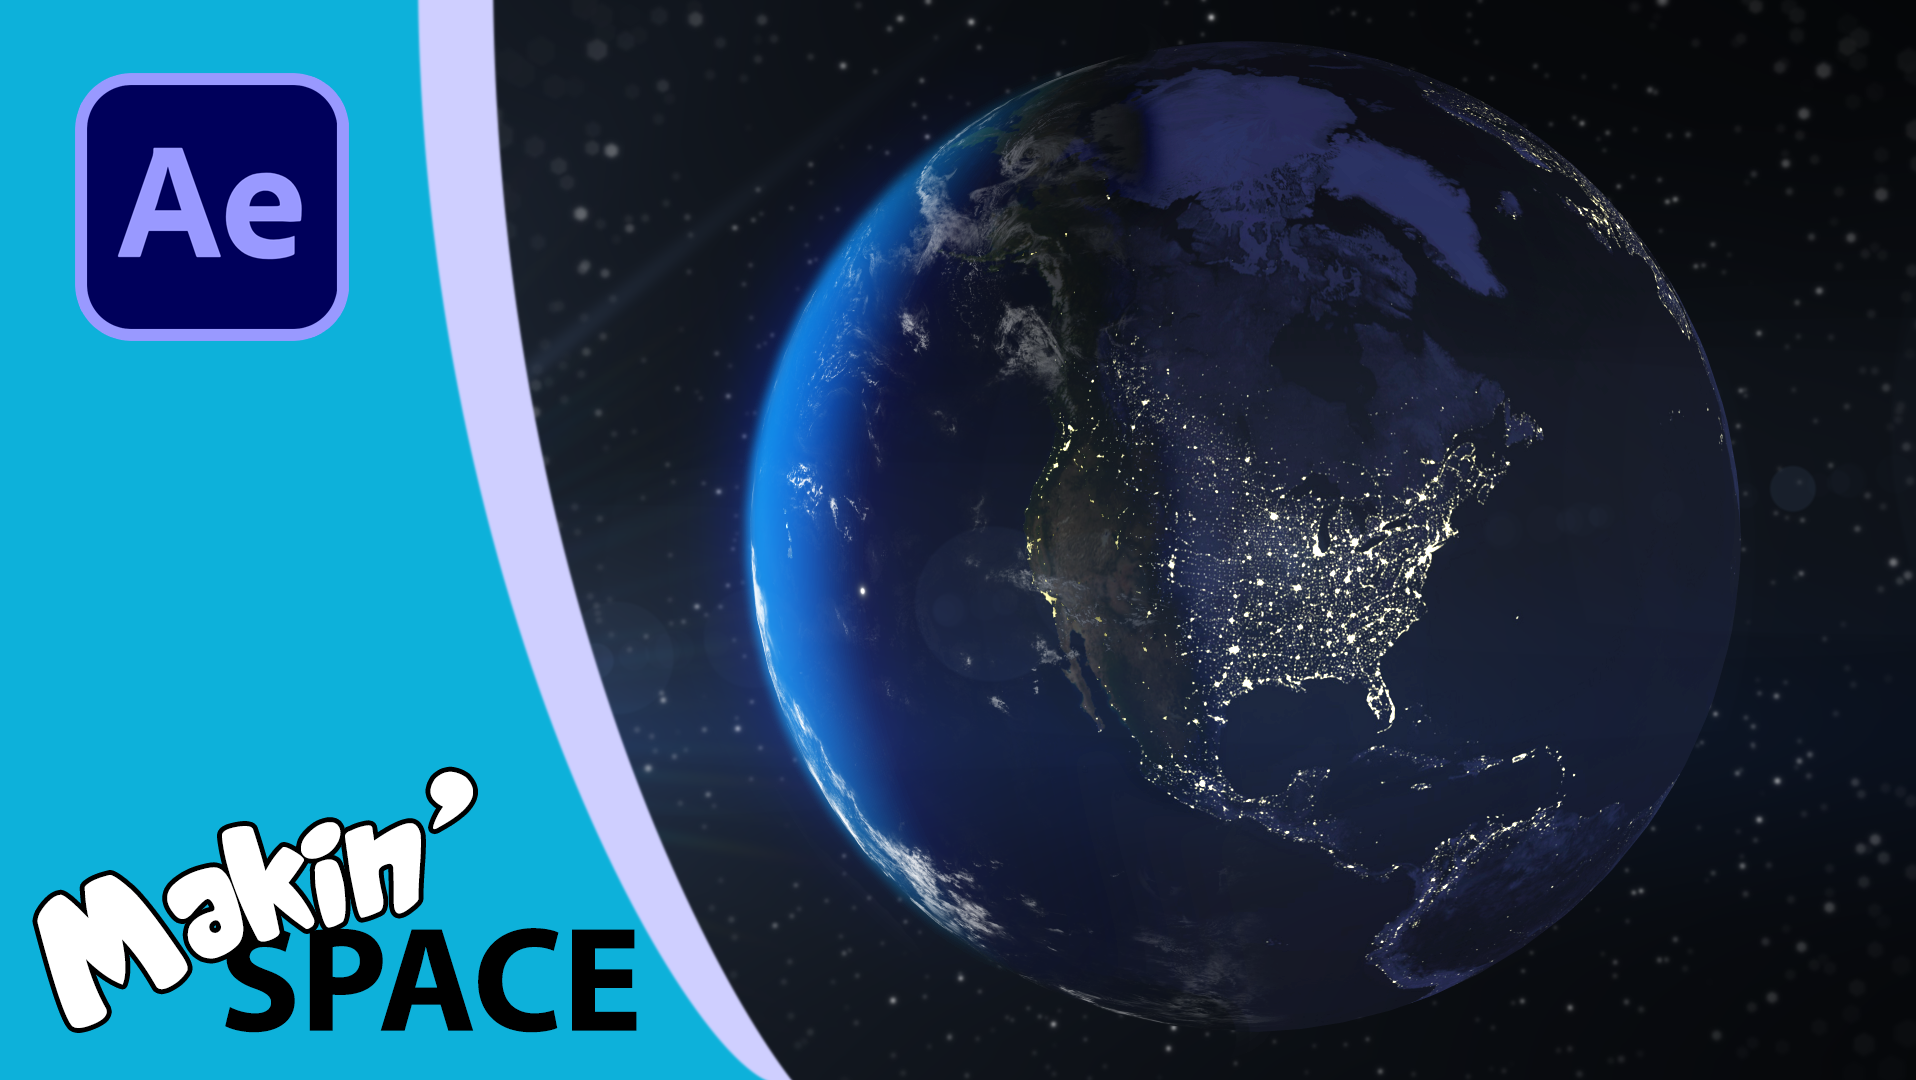
Taking the render from Blender and adding all the finishing touches in After Effects yielded the best result, in my opinion.
I rendered out multiple passes (separately as the guidance for rendering passes for different objects is confusing). Separating the ring and its shadow from the planet render meant I was able to reduce the opacity and fade in some distortions using Turbulent Displace and Vector Blur. This gave me the opportunity to make the band of rings look more gaseous.
Adding in an awesome background using CC Environment and my own set of Quick Cheats added that extra level - at least I think so.
Final thoughts
In the end, a lot of this comes down to the look you're after. I think the After Effects only option is possiblly the most stylised approach, but that look is not for everyone.
I much prefer the control I have moving the camera in AE and seeing the final look. While I can move the camera in Blender too, I won't know how it all looks until the render is finished. If I have to make a change, then that's another day gone.
That's just my opinion though. I'd love you learn your thoughts. There's a poll on my community page where you can vote and post your own comments: