Making use of the Advanced 3D Renderer to import a 3D model of a planet and add city lights to the nightside. In this video I expand on my previous tutorial where I used After Effects to create a texture map for a simple sphere OBJ exported from Blender.
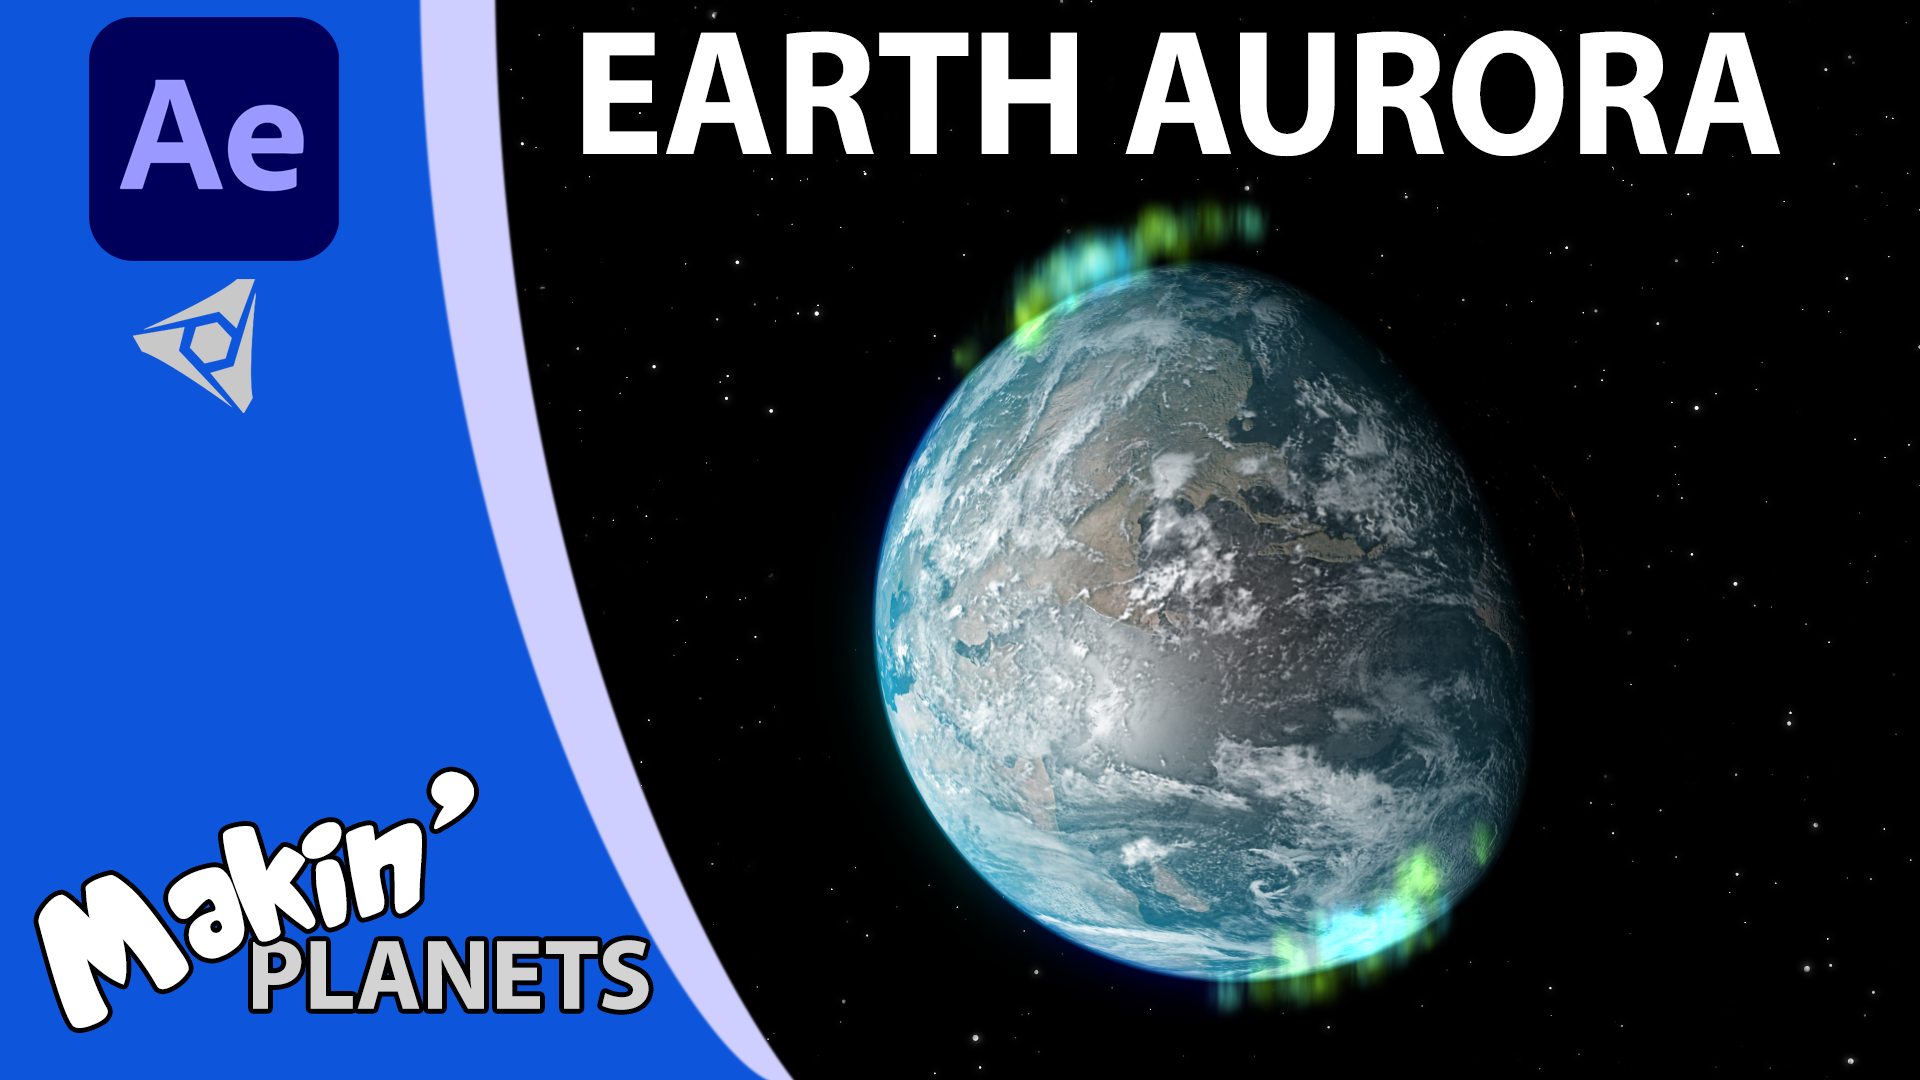
I pick up right where I left off, with a realistic planet, with clouds and atmosphere. In this video I use the little used Paint tool to draw directly on the texture map. I have a bit of fun choosing the places and then use a few of included effects to help make the cities look more realistic from space. Of course, you can skip this step if you are using an existing lights texture map.
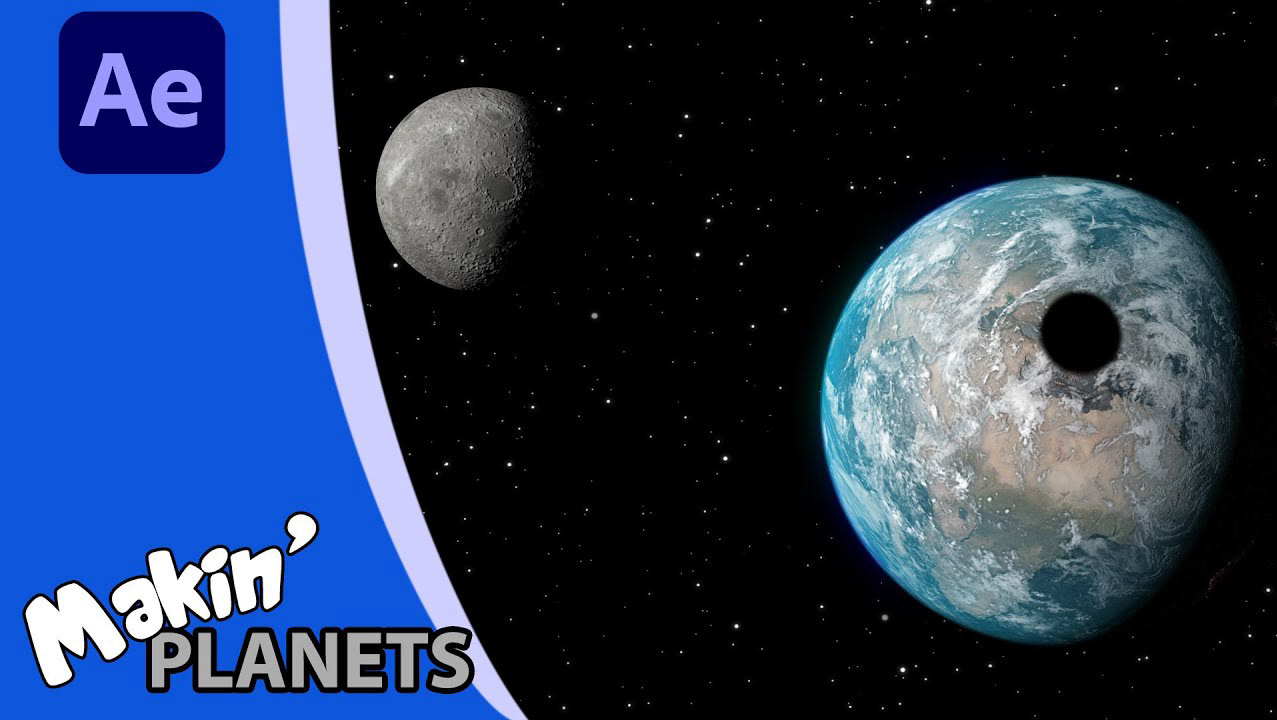
Once I've exported my city lights image, I demonstrate just how easy it is to duplicate and adapt the sphere's OBJ and MTL files without needing to use a 3D program. And then import this duplicated model into After Effects. And use a combination of Set Matte, Levels and Calculations effects to create a sphere that only shows up in the shadows of the planet. The Levels effect can be used to adjust how far across the terminator you have the lights appear. Finally, and just for the fun of it, I create a lava texture and show how you can have this visible on both the light and dark side.

